The success of an eCommerce website depends on more than the behind-the-scenes work of driving sales, marketing, and sourcing the right products but also on the quality of its product images. eCommerce photography is a crucial element of any online store and can make or break a customer’s buying experience. With the proper techniques, you can create stunning product images to draw in customers and boost your sales.
As a trusted, multidisciplinary eCommerce website design agency, we’re often asked about the various platforms, from Shopify to WooCommerce and BigCommerce and the benefits of choosing one as an eCommerce solution. We’re advocates of each platform and have created many successful online stores for clients worldwide. We also understand the importance of product photography. In this article, we’ll discuss the best practices for mastering eCommerce photography and creating attractive product images for eCommerce success.
This article will cover:
- The Importance of Product Photography in eCommerce Web Design
- Essential Equipment and Setup
- Composition and Styling
- Product Preparation and Presentation
- Camera Techniques and Settings
- Post-Production and Editing
- Image Optimisation for eCommerce
- Creating a Consistent Style and Brand Image
1: The Importance of Product Photography in eCommerce Web Design
Product photography is everything in the competitive world of running a successful eCommerce store. It’s often the first impression a customer has of your online store. And as we all know, first impressions are crucial. So, it’s no surprise that the success of your eCommerce website largely depends on the quality of your product images.
So why is product photography so important in eCommerce? Well, think about it from a customer’s perspective. They can’t physically touch or see the product in person when they shop online. Instead, they rely solely on the images you provide. And if those images don’t accurately represent your products or fail to showcase their best features, you can say goodbye to potential customers.
But it’s not just about accurately representing your products or services. The right product images can also evoke emotions and create a connection with your target audience. They can inspire trust, show the quality of your products, and even communicate your brand’s unique style and values.

That’s why it’s essential to understand your audience and their needs when it comes to product photography. Whatever eCommerce platform you use, from Shopify to WooCommerce or BigCommerce, it’s essential to tailor your product images to the customer’s tastes and expectations. Are they looking for clean, minimalistic images? Or do they prefer vibrant, lifestyle-oriented visuals? By understanding your audience’s preferences, based on the products you’re selling, you can capture their attention and drive more sales.
87% of consumers say that product photos are very important when making a purchase decision online.
Source: Source: CMO Council
In the following sections, we’ll dive deeper into the various aspects of eCommerce photography, from preparing your products for a photoshoot to editing and optimising your images for eCommerce platforms. So, let’s get started on the path to mastering eCommerce photography and creating stunning product images that will make your online store shine.
2: Essential Equipment and Setup
When mastering eCommerce photography, having the right equipment and correctly setting up your photography space is crucial. This section will discuss the equipment, lighting setup, and background considerations to help you capture stunning product images.
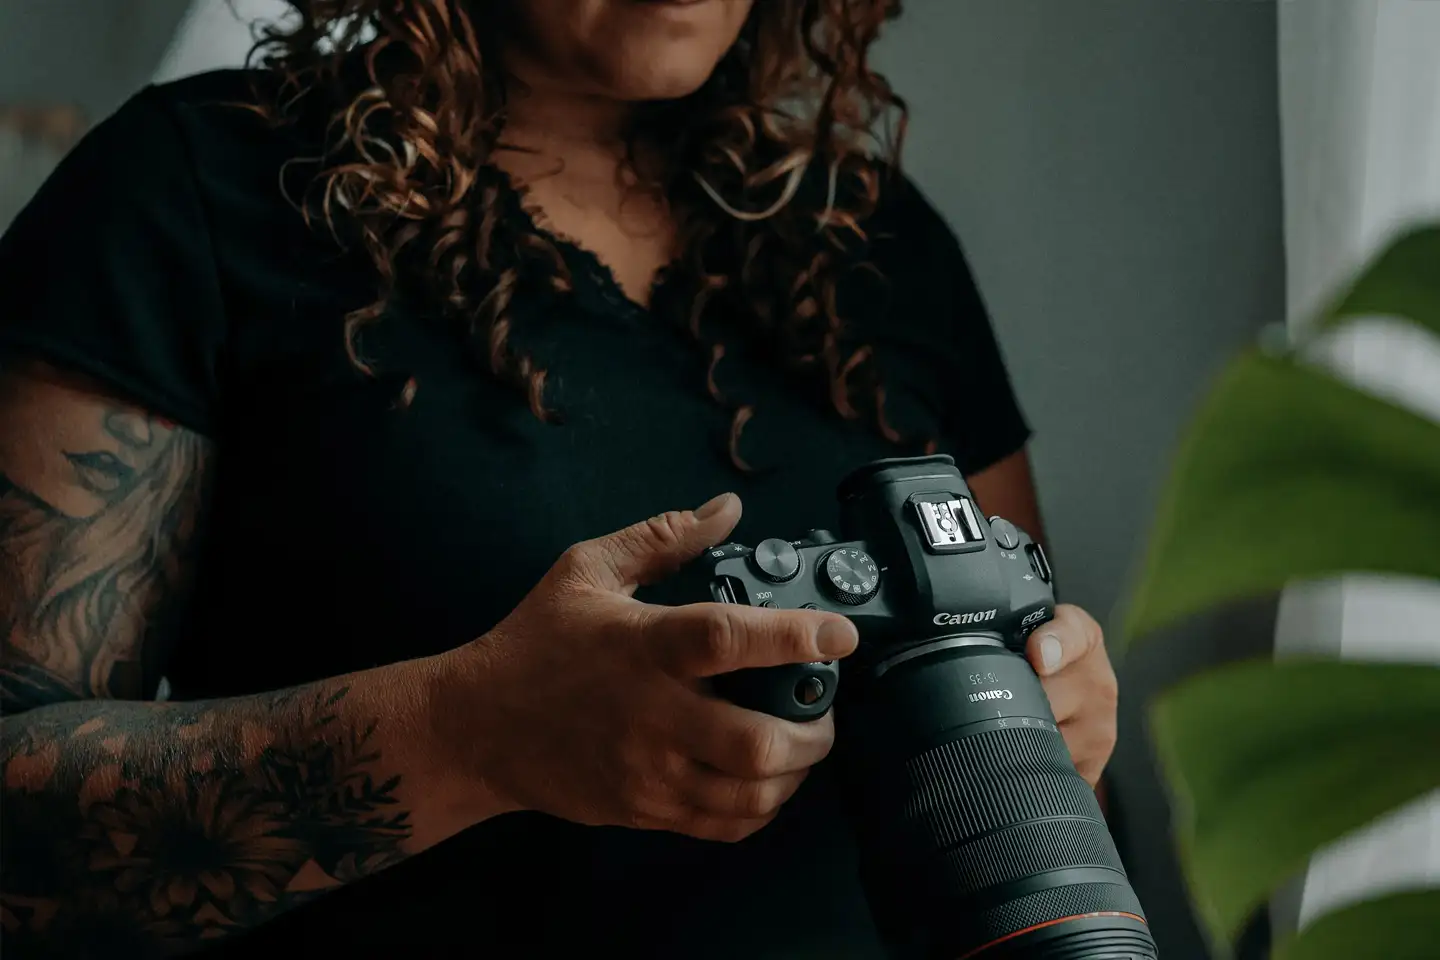
2.1. Camera Selection
Choosing the right camera for eCommerce photography is an important decision to make. You’ll have two main options to consider: budget-friendly and professional-grade cameras.
Budget: If you’re starting out or have a limited budget, there are plenty of affordable options available that can still produce high-quality images. These cameras may not have all the advanced features of professional-grade cameras, but they can still deliver outstanding results for eCommerce photography. Look for cameras with manual settings, such as aperture, shutter speed, and ISO control, as this will give you more flexibility and control over your images.
A good budget camera for product photography would be the Panasonic Lumix G85. The camera’s advanced image stabilisation system, high-quality image sensor, and intuitive control options make it the perfect tool for capturing product shots.
Professional: If you have a higher budget and are looking for more control and advanced features, investing in a professional-grade camera is the way to go. These cameras offer superior image quality, faster autofocus, and the ability to shoot in RAW format, which allows for more detailed post-processing. They also often have better low-light performance, which is important for indoor or evening shoots.
If you have the cash to splash, then the Fujifilm GFX 50S II boasts impressive features as a medium-format digital camera. Its generous sensor size delivers exceptional resolution and remarkable dynamic range, resulting in highly detailed captures. The camera’s abundance of autofocus points permits stationary positioning on a tripod while allowing you to easily manoeuvre products in front of the lens.
Most people (91%) take photos with smartphones vs. digital cameras (7%) or tablets (3%).
Source: Passport Photo Online
Ultimately, the camera you choose will depend on your budget, level of expertise, and the specific needs of your eCommerce photography. Consider your requirements and thoroughly research the camera that best suits your needs. Remember, while having a high-quality camera can enhance your eCommerce photography, it’s also important to focus on other aspects like lighting, composition, and post-processing to create genuinely stunning product images.
2.2. Lighting Setup
Great product photography relies heavily on proper lighting and composition. How you illuminate and frame your products can significantly impact how customers perceive them.
Good lighting is essential for showcasing your products in the best possible way. Natural light is often the ideal choice as it brings out your products’ actual colours and textures. If shooting indoors, position your setup near a window to make the most of natural light. However, be mindful of the harsh shadows that direct sunlight can create. Use diffusers or curtains to soften the light and achieve a more balanced and consistent lighting setup.

Invest in artificial lighting equipment if natural light is insufficient or unavailable. Softboxes or LED lights can help create even, diffused lighting that minimises shadows. Experiment with different angles and intensities to find the best lighting setup for each product. Remember, the goal is to illuminate your products without overpowering them.
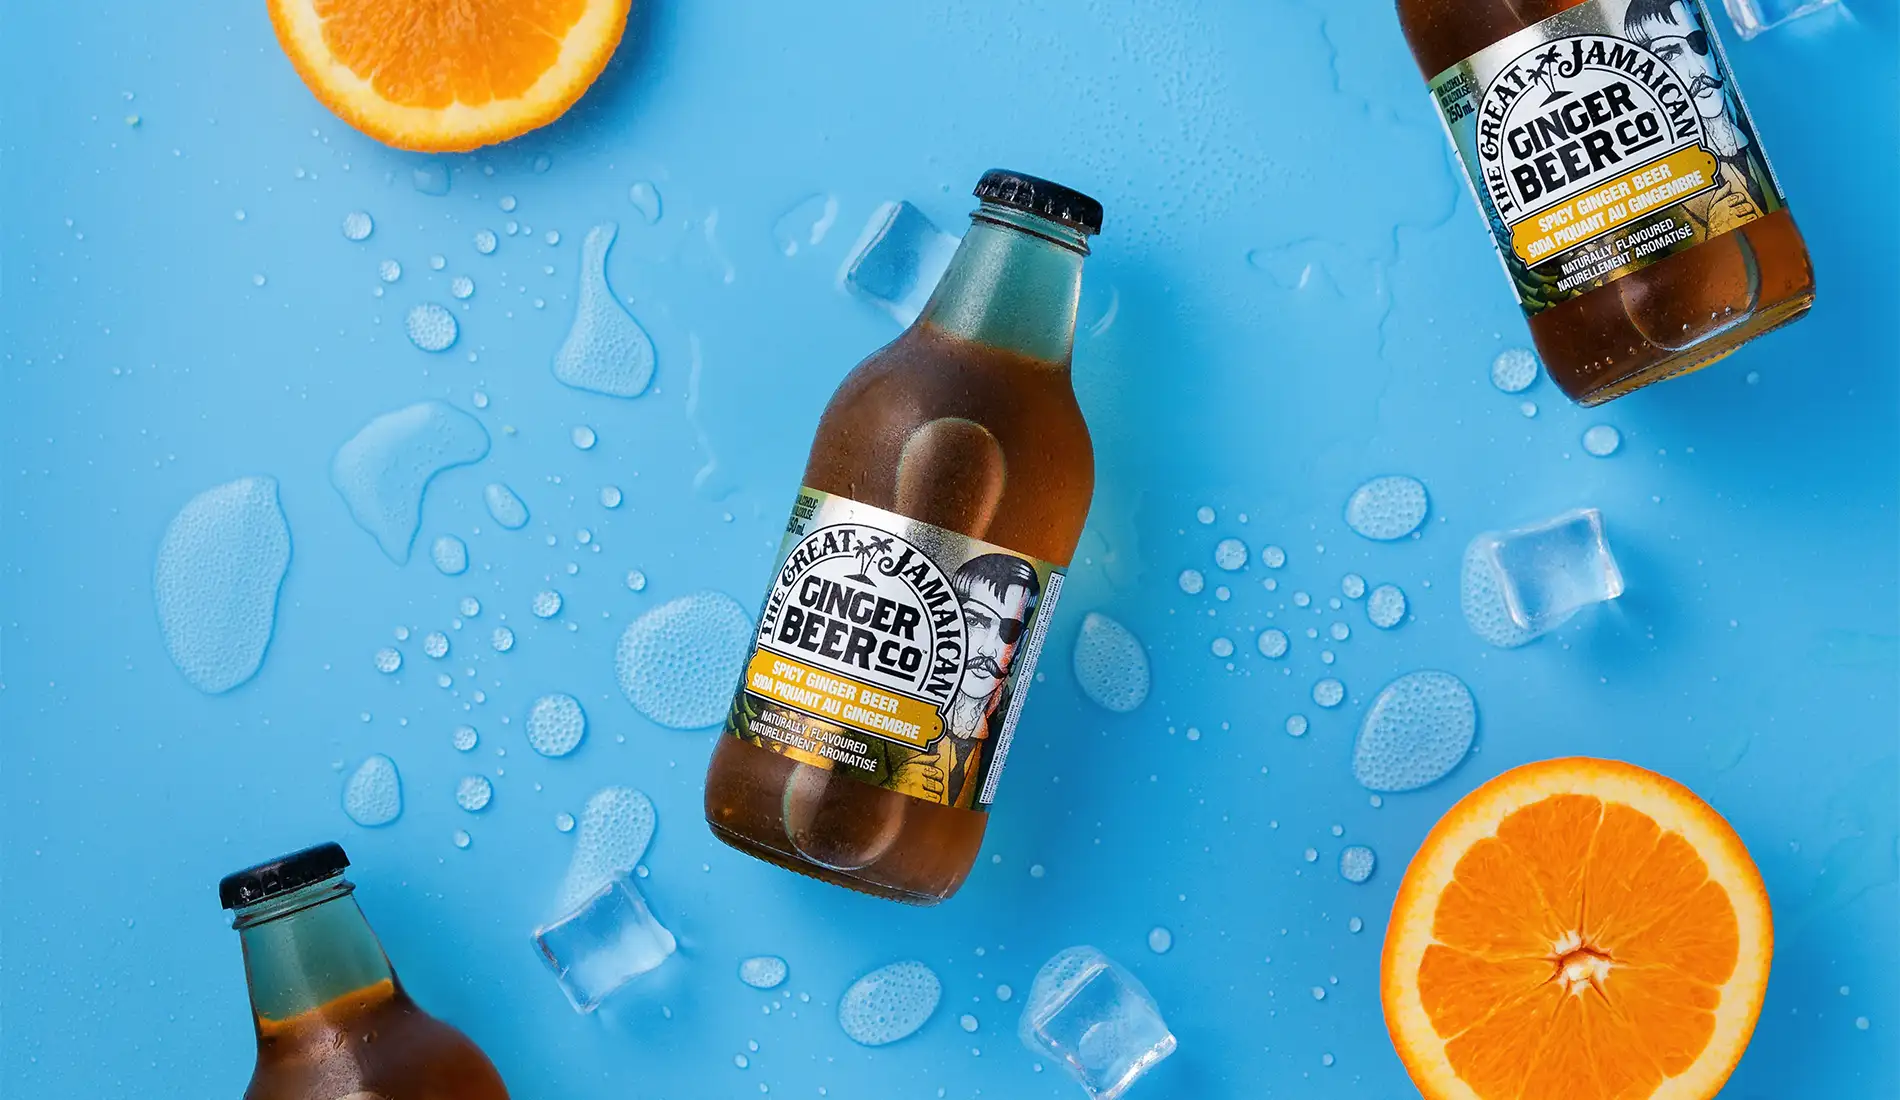
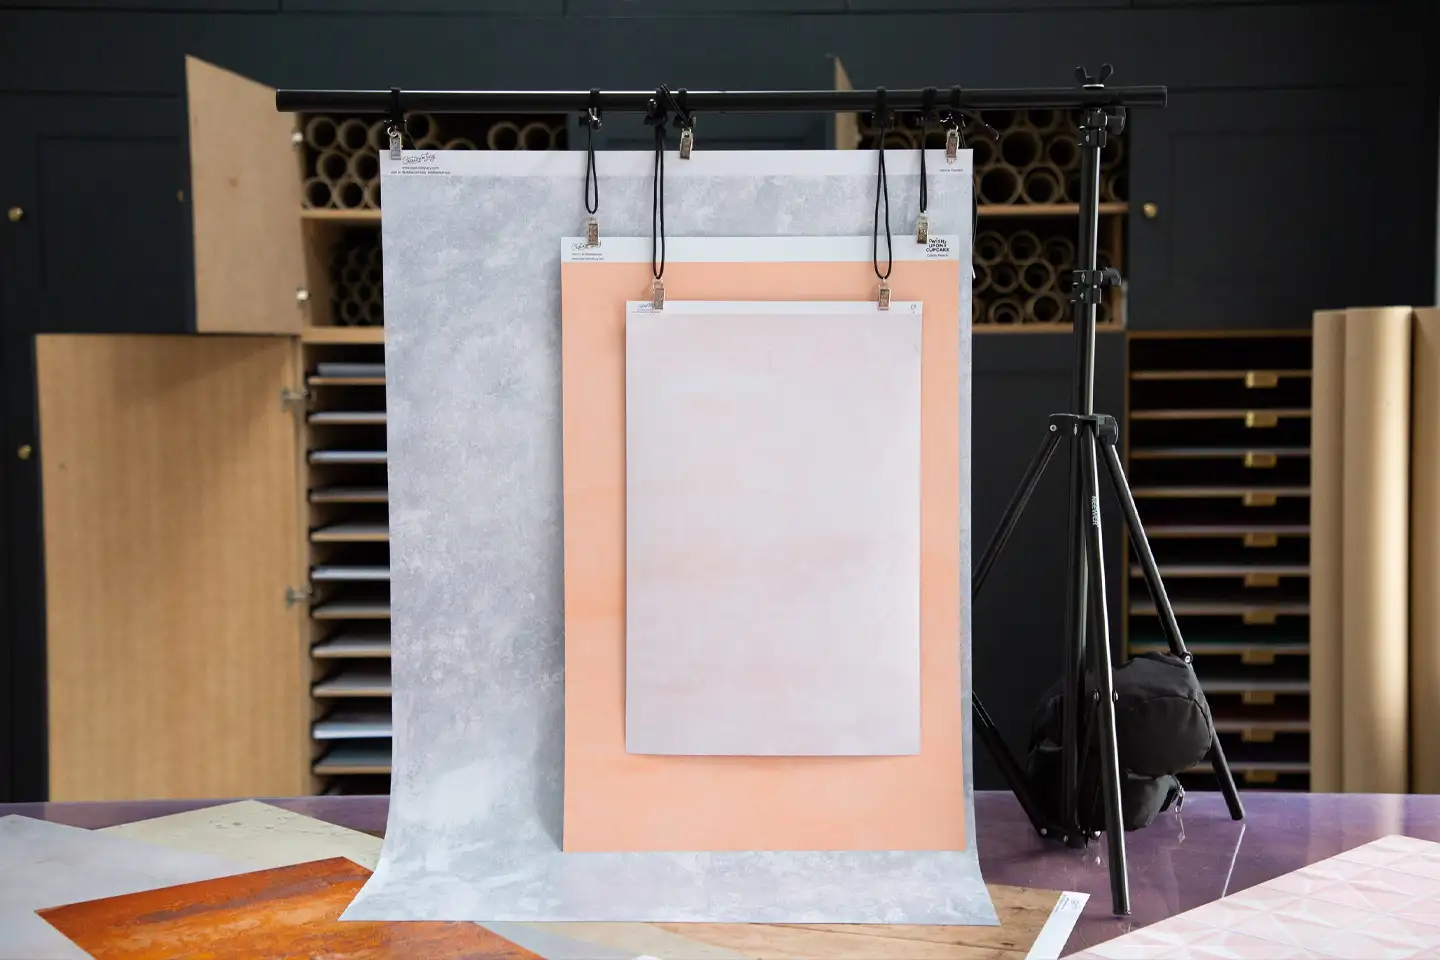
2.3. Backgrounds and Backdrops
When it comes to backgrounds and backdrops, selecting the correct options can significantly enhance your product images. Depending on your brand’s aesthetic and the products you’re showcasing, you can choose DIY options or pre-made backdrops. DIY options allow for more customisation and creativity, while pre-made scenes offer convenience and consistency.
When selecting backgrounds, consider the aesthetic you want to achieve and the mood you want to convey. A clean, minimalistic background can give your product a sleek and professional look, while a textured or patterned background adds visual interest and creates a unique atmosphere. Think about your target audience and their preferences – what backgrounds would resonate with them and make them more likely to purchase your products?
When selecting backgrounds, remember to keep the focus on your products. They should be the main focal point, while the backgrounds serve as supporting elements. Avoid using busy or distracting backgrounds that could take away from the product itself.
Experiment with different combinations of backgrounds to find what works best for your products and your brand. Consider your target audience’s preferences, the aesthetic you want to achieve, and the story you want to tell. By choosing the right backgrounds, you can create visually stunning product images that make a lasting impression on your customers and drive sales to your eCommerce store.
By having the right equipment, setting up proper lighting, and selecting appropriate backgrounds and backdrops, you can create a photography space to capture stunning product images. Remember, the equipment and setup are the foundation for successful eCommerce photography, so take the time to invest in quality equipment and create a space that is conducive to capturing the best possible product images.
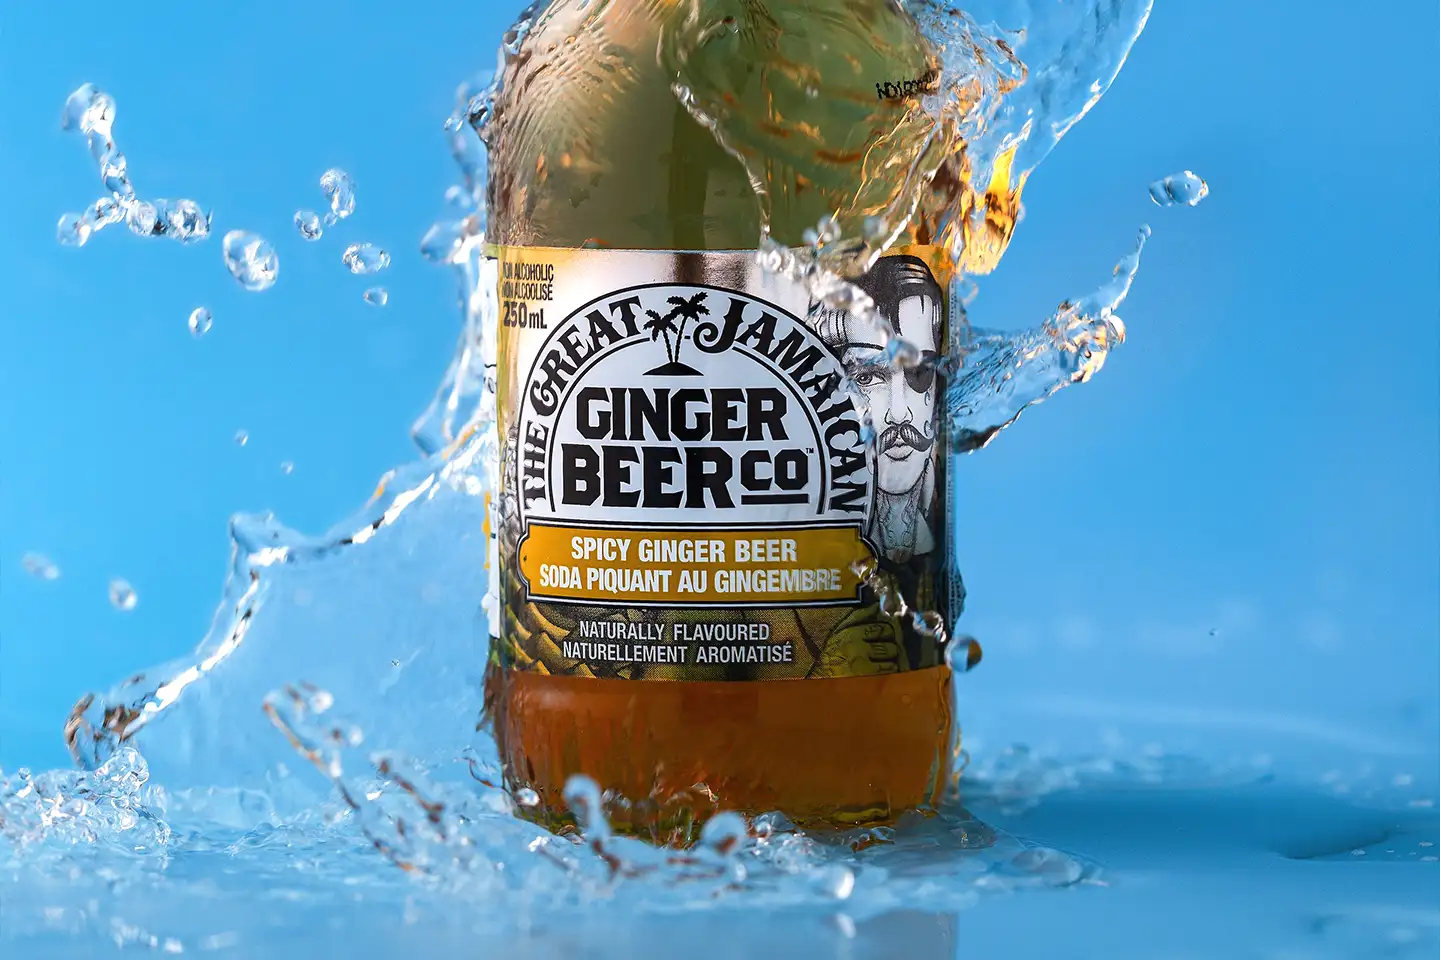
3: Composition and Styling
Great product photography relies heavily on composition. Composition refers to how you arrange and position your products within the frame and can impact how customers perceive them.
3.1. Product Placement
Start by considering your products’ size, shape, and unique features. Use the rule of thirds to create a visually balanced composition. Imagine a grid of nine equal squares and position your products along the lines or at the intersections of the grid. This technique can create a visually pleasing and dynamic composition.
Make sure to showcase the product from various angles to give customers a comprehensive view. Including props or other items that provide a sense of scale can help customers visualise the size of the product. By strategically placing your products and ensuring accurate representation, you can create visually appealing and informative images that attract and engage customers. So, take the time to carefully consider the placement of your products and experiment with different positioning techniques to find what works best for your eCommerce photography.
3.2. Angles and Perspectives
Experiment with various angles to capture your products from multiple viewpoints. For smaller items, consider close-up shots that allow customers to see intricate details. For larger products, try capturing them from a higher or lower angle to showcase their size and proportions.
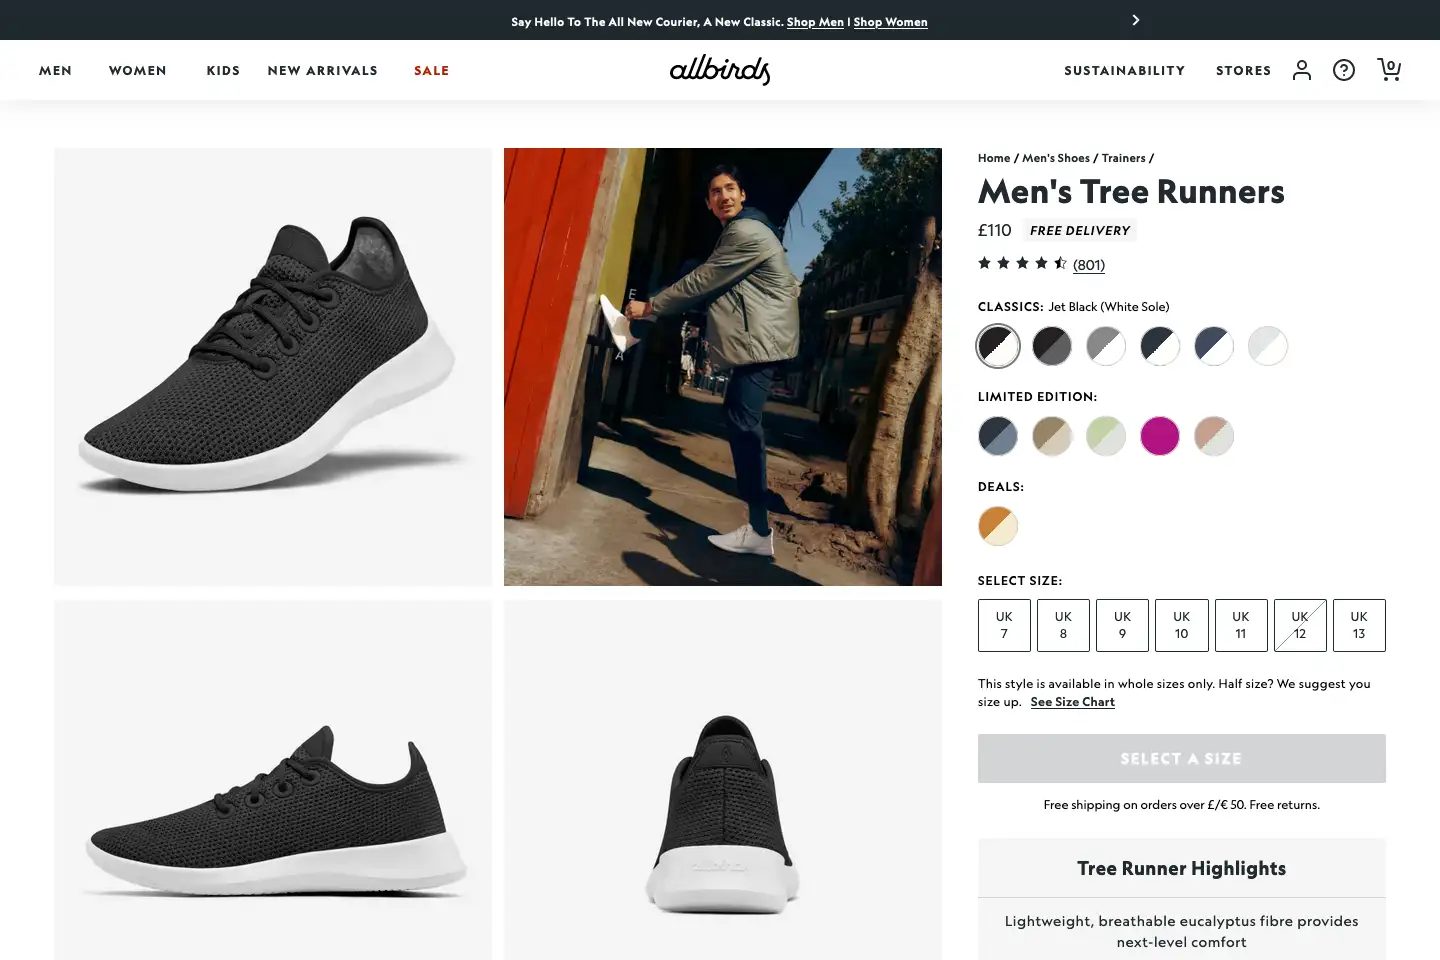
Don’t be afraid to get creative with perspectives. Try shooting from unusual angles or incorporating dynamic compositions to create visually engaging product images. By breaking away from the traditional straight-on shots, you can capture customers’ attention and make your products stand out.
3.3. Props and Accessories
Adding props and accessories to your product images can significantly enhance their appeal and create a more engaging customer experience. Props can help provide context and give customers a better understanding of how the product can be used or its size. For example, if you’re selling kitchenware, you can include props like fresh ingredients or utensils to showcase the product’s functionality and create a visually appealing composition.
However, it’s important to strike a balance and maintain a clean and clutter-free look. Too many props can distract from the main focus, which is your product. Remember that the product should always be the star of the image, and props should only enhance its features or provide additional visual interest.

When choosing props and accessories, consider your target audience and their preferences. Think about the lifestyle and interests of your customers and select props that align with their needs and aspirations. For example, if you’re selling fitness equipment, you can include accessories like exercise mats or water bottles to create a sense of motivation and inspire your customers to imagine themselves using the product.
Experiment with different props and compositions to find the right balance that showcases your product’s best features and resonates with your target audience.
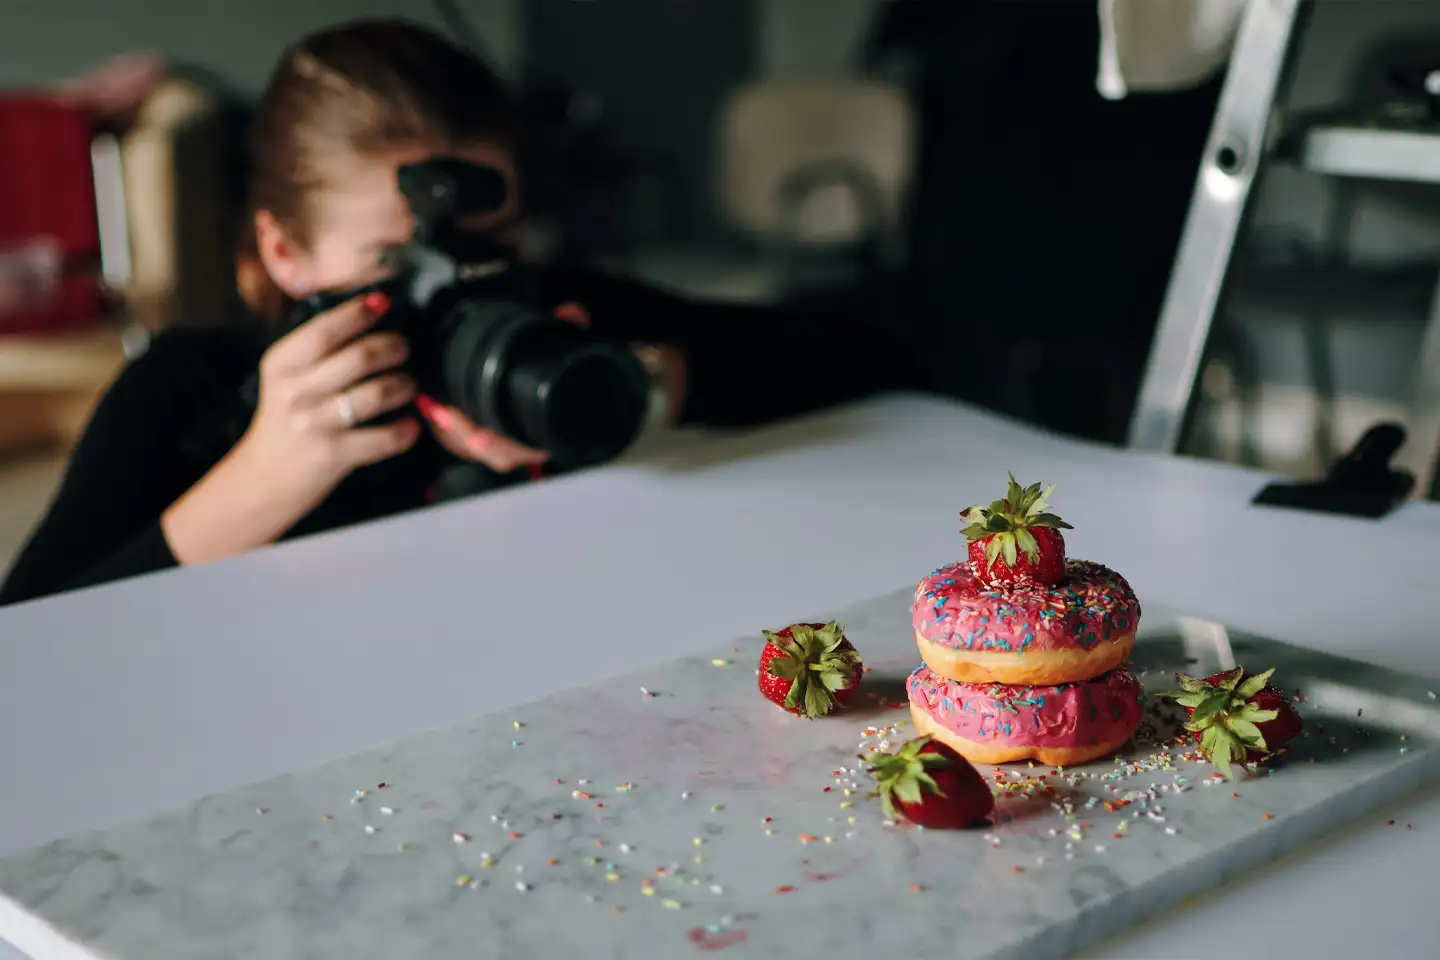
4: Product Preparation and Presentation
Your product images are the customers’ first impressions of your products, so presenting them in the best possible light is key.
4.1. Product Cleaning and Maintenance
Before you even consider taking photos of your products, ensure they are clean and free from any imperfections. Take the time to inspect each item and remove any dust, fingerprints, or smudges. Are there any scratches, dents, or scuffs that must be addressed? If so, consider whether these imperfections can be fixed or if you need to replace the item altogether. Remember, some of these imperfections can be removed in post-production editing.
Once your products are clean and free from imperfections, it’s time to stage them for the photoshoot. Pay attention to details like arranging them neatly, using props or backgrounds, and using proper lighting.

4.2. Styling and Arrangement
How you arrange and present your products can significantly improve their visual impact and appeal to customers. Consider the arrangement of your products within the frame. Experiment with different layouts and compositions to find the most visually appealing arrangement. Think about creating symmetry or asymmetry, depending on the style you want to achieve. You can also use leading lines or diagonal compositions to develop a sense of movement and draw the viewer’s eye towards the main subject.
Good product photography can increase the conversion rate by almost 30%.
Source: PixelPhant
Strive for consistency across your product lines. Create a cohesive style using similar backgrounds, lighting, and props for all your products. This consistency will create a visually appealing aesthetic and help customers recognize and remember your brand.
5: Camera Techniques and Settings
It’s worth getting to grips with adjusting the camera settings for aperture, shutter speed, and ISO to capture stunning product images. These settings give you complete control over your images’ exposure and overall look.
5.1. Aperture, Shutter Speed, and ISO
Aperture refers to the size of the lens opening and determines the amount of light that enters the camera. A wider aperture, indicated by a lower f-number, allows more light to enter, resulting in a shallow depth of field and a blurred background. This setting is ideal for highlighting a specific product detail or creating a more artistic composition. On the other hand, a smaller aperture, indicated by a higher f-number, will give you a larger depth of field and keep more of the image in focus. This is great for capturing products that have intricate details or need to be shown in their entirety.
Shutter speed, as the name suggests, controls the length of time that the camera’s shutter remains open. A faster shutter speed, such as 1/500 or 1/1000 of a second, freezes motion and is perfect for capturing products in action or preventing blur caused by camera shake. A slower shutter speed, like 1/30 or 1/60 of a second, allows for longer exposure times, which can create more dramatic and artistic effects. However, a tripod is necessary to prevent any unwanted blurriness caused by hand movement.
ISO measures the camera’s sensitivity to light. A lower ISO setting, such as 100 or 200, produces images with less noise or graininess, making it ideal for well-lit environments. On the other hand, a higher ISO setting, like 800 or 1600, increases the camera’s sensitivity to light, allowing for better exposure in low-light situations. However, the higher ISO settings can introduce more noise or graininess into the image.
All of these settings depend on the specific product requirements you’re photographing. For example, if you’re capturing a still-life product that requires fine details to be visible, you’ll want to use a smaller aperture and a tripod for a sharper image. On the other hand, if you’re photographing a product in action, you’ll want to use a faster shutter speed to freeze the motion.
5.2. Focus and Depth of Field
Achieving sharp focus will help draw attention to the most important features of your product. To achieve a sharp focus, use manual focus and select the focus point carefully. Take the time to adjust the focus until the desired area is sharp and clear.
In addition to focus, depth of field can be used creatively to enhance your product images. Depth of field refers to the range of distance in an image that appears sharp. By using a shallow depth of field, you can create a pleasing background blur that isolates your product and makes it stand out. This technique is beneficial when highlighting specific product details or creating a more artistic look.
While a larger depth of field can be used to showcase the entire product or create a more detailed image, this is achieved using a smaller aperture to increase the depth of field. Experiment with different apertures and depth of field settings to find the right balance that enhances your product images and creates the desired effect.
Remember, practice makes perfect, so don’t be afraid to experiment and find the best settings for your specific products.
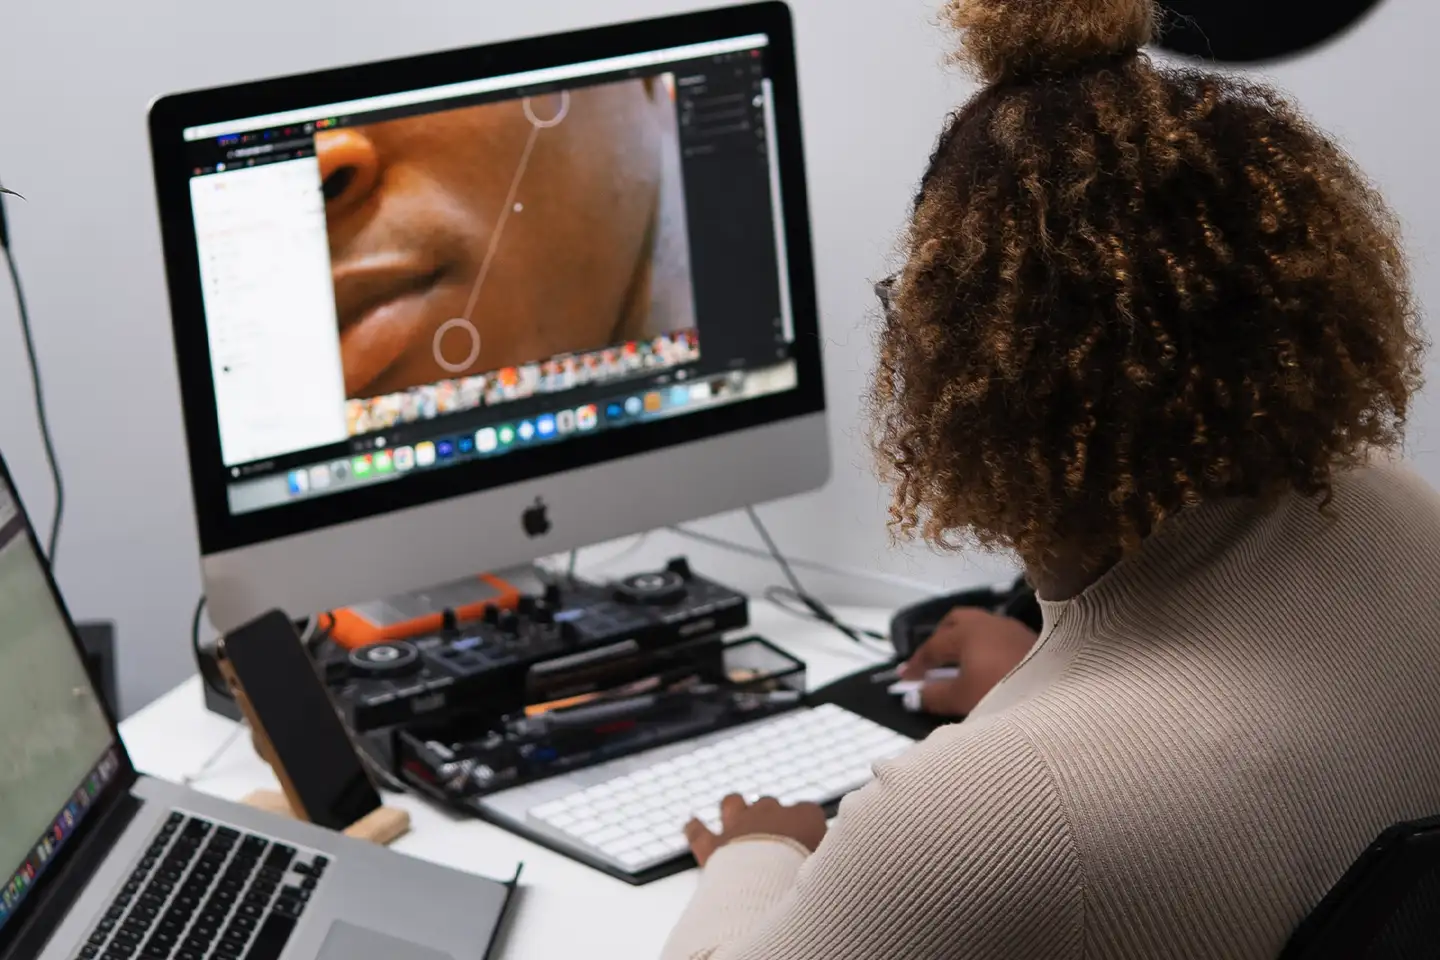
6: Post Production and Editing
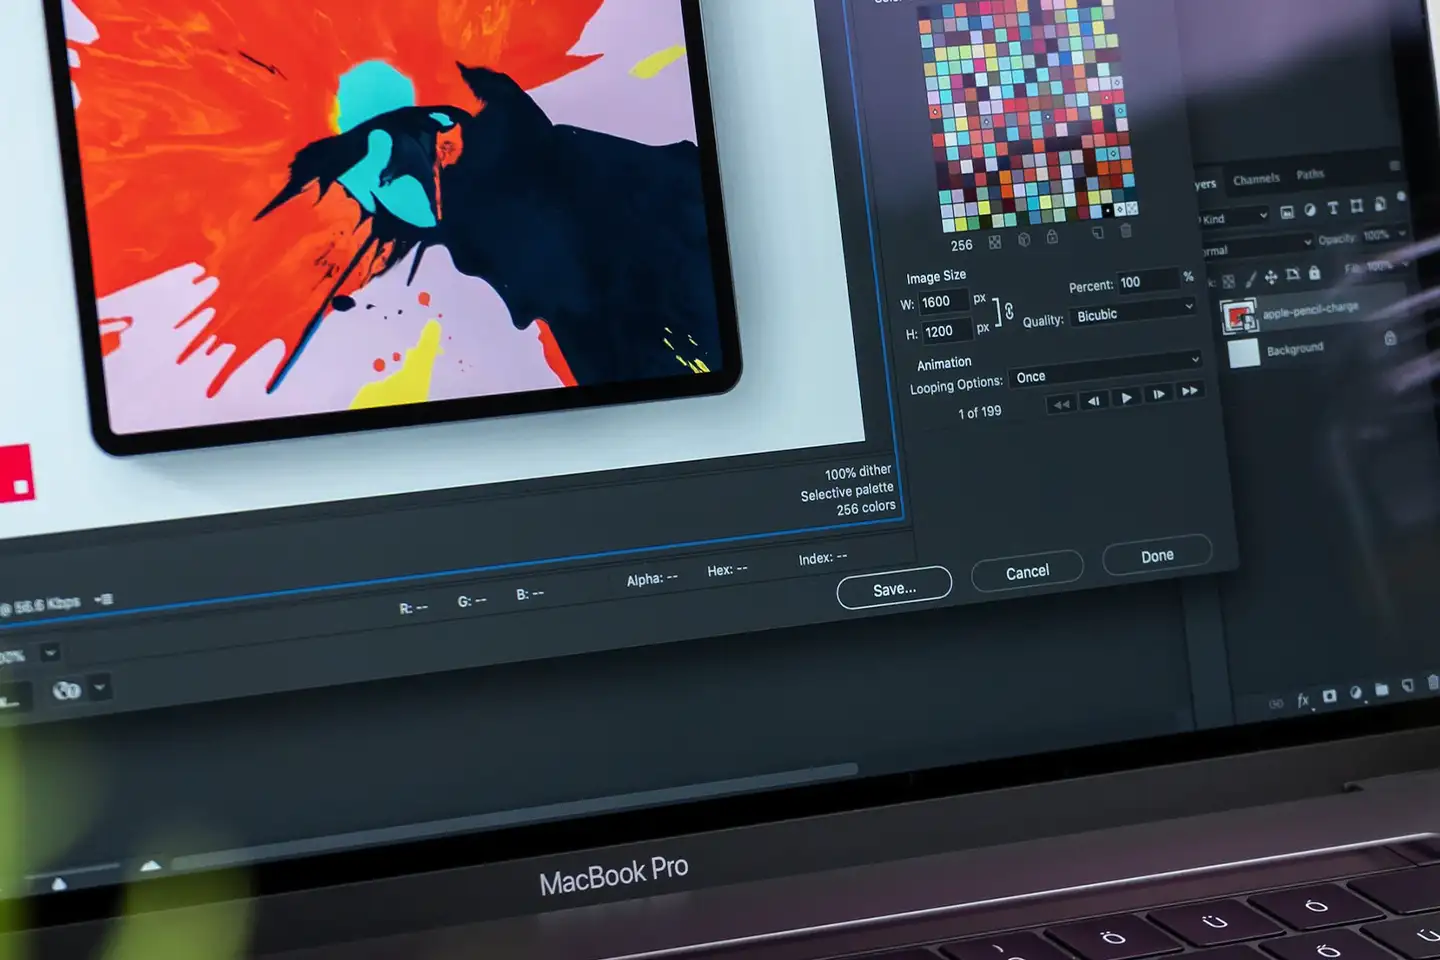
Editing your product images is essential in creating stunning visuals that will attract customers and boost sales. To achieve professional-looking photos, you’ll need reliable image editing software and learn a few techniques that can help you enhance and refine your images.
6.1. Image Editing Software
Several popular image editing software options are available that cater to different skill levels and budgets. Adobe Photoshop is probably the most widely used software in the industry, known for its advanced editing capabilities and extensive features. It offers a wide range of tools for adjusting colours, removing imperfections, and retouching your product images. However, Photoshop can be complex and may require some time to master, making it more suitable for advanced users.
Adobe Lightroom is an excellent choice if you’re looking for a more user-friendly and budget-friendly option. Lightroom offers a simplified interface and is specifically designed for photographers. It provides powerful editing tools and presets, allowing you to adjust your product images quickly. It also offers features for organising and managing your photo library, making keeping track of your eCommerce photography easier.

Other image editing options include GIMP, a free and open-source software that offers many similar features to Photoshop, and Canva, a web-based platform that provides easy-to-use tools for creating professional-looking graphics and designs.
Whether you choose a more advanced software like Photoshop or a user-friendly option like Lightroom, learning and practising basic editing techniques to enhance your product images is important. These techniques include adjusting brightness and contrast, sharpening details, cropping and resizing images, and removing imperfections.
6.2. Colour Correction and Enhancement
Colour correction and enhancement play a crucial role in post-production and editing. These processes involve correcting colour accuracy and white balance to ensure your products appear true to life. You can easily adjust the colour levels and tones to achieve the desired look using software like Adobe Photoshop or Lightroom.
Furthermore, enhancing the product colours can make them pop and grab the attention of potential customers. This can be done by adjusting the saturation and vibrance, making the colours more vibrant and visually appealing. These adjustments can help your products stand out in a crowded marketplace and make a lasting impression on your customers.
But don’t go overboard when correcting colours and enhancing your product images; strike a balance. Avoid over-editing your pictures, which can make them look artificial and unrealistic. Instead, focus on creating images that accurately represent your products while maintaining a visually appealing aesthetic.
6.3. Background Removal and Retouching
Once again, use software like Adobe Photoshop or Lightroom. These programs offer powerful tools for isolating your product from its background and creating a transparent or solid-coloured background. This helps to eliminate distractions and create a more focused and professional appearance.
These platforms can also fix imperfections, adjust colours, and enhance details with retouching techniques that improve your product images. Photoshop or Adobe Lightroom can remove blemishes, adjust lighting, and make your products look their best.
Combining background removal and retouching can transform your product images from good to great. It allows you to create a consistent and visually appealing look across all your products. Remember, background removal and retouching should be done with care and subtlety. The goal is to create natural-looking images.
7: Image Optimisation for eCommerce
Choosing the correct file format and optimising the size of the files is an important step in post-production. You should never upload your raw images for web use. Instead, use photo editing software to optimise your product images.
7.1. Image File Formats
There are various file formats available, each with its advantages and disadvantages. One popular format for web use is WebP. This format is highly efficient in file size and offers superior image quality, making it ideal for eCommerce websites where fast loading times and high-quality visuals are crucial.
When choosing an image file format, balancing image quality and file size is important. High-quality images can enhance the customer experience and increase sales, but large file sizes can slow page loading times. Opting for compressed file formats like WebP allows you to maintain image quality while reducing file sizes, resulting in faster loading times and better user experience.
File size and image formats can also impact SEO (search engine optimisation). It’s important to consider SEO when optimising your eCommerce website. Choosing an SEO-friendly image format, like WebP, to help improve the visibility of your product images in search engine result pages (SERPs). When optimising for SEO, consider using descriptive file names, alt tags, and captions that include relevant keywords to enhance the searchability and discoverability of your product image.
7.2. Image Sizing and Resolution
Consider the image dimensions of the eCommerce platform or theme you’re using. This is important because uploading larger images can slow down your website’s loading time, leading to a negative user experience. On the other hand, images that are too small may appear pixelated or lose their clarity. By resizing and compressing your images to meet the website’s design spec, you can make sure they can load quickly and look great on any device.

With the increasing number of people browsing and shopping on mobile devices, it’s important that your product images look great and are easily viewable on screens of all sizes. Ensure your website theme is responsive and adapts to different screen resolutions, ensuring that customers can fully appreciate your products regardless of the device they use. If you’re struggling with your website’s theme, maybe it’s time to change. We’re an award-winning eCommerce web design agency and can build on various platforms, from Shopify to WooCommerce and BigCommerce. Speak to our team and find out how we can help.
Image sizing and resolution also play a role in PPC (Pay-Per-Click) activities, especially when using a product feed. Your product images must meet the requirements and guidelines of the platform you are advertising on to ensure that your ads are displayed correctly and attractively. Be sure to understand the image specifications of the platform and optimise your images accordingly.
8: Creating a Consistent Style and Brand Image
Once you’ve mastered the technical aspects of eCommerce photography, it’s time to focus on creating a consistent style and brand image. Consistency is vital in building a solid and recognisable brand identity.
First and foremost, consider your brand’s values, personality, and unique selling proposition. What sets your brand apart from competitors? How do you want your products to be perceived by customers? Answering these questions will help you define the overall style and aesthetic you want to convey through your product images.
Consistency starts with the visual elements of your images. Pay attention to lighting, composition, colours, and backgrounds. Create a style guide or mood board to serve as a reference for your photography. This guide should outline the elements that contribute to your brand’s style, such as preferred angles, props, or colour palettes. By following this guide consistently, you can ensure that your product images align with your brand’s identity and create a recognizable visual language.
In addition to visual elements, consistency should extend to other aspects of your brand, such as product descriptions and eCommerce website design. Use consistent language and tone of voice across all your brand communication channels. This will help create a cohesive customer experience and reinforce your brand’s identity.
Remember, consistency builds trust and familiarity with your customers. When they see consistent and visually appealing product images, they’ll associate them with your brand. This will make it easier for them to recognise and remember your products, leading to increased brand loyalty and repeat purchases.
Conclusion
This guide covers everything you need to know about mastering eCommerce photography and creating stunning product images.
- We explored the importance of choosing the right camera, understanding your audience, and preparing your products for a photoshoot.
- We also delved into the essential equipment and tools needed for capturing great photos and the role of props and accessories in enhancing product images.
- We emphasised the significance of lighting and composition in eCommerce photography and provided tips on achieving optimal results. We also highlighted the importance of editing photos to maximise their impact and create a consistent style and brand image.
- Lastly, we emphasised the need for optimising your images for your website theme, as well as image sizing and resolution.
Now it’s over to you to explore more detailed topics in each area. There is a lot to take in and learn, but using these best practices in your online store can dramatically increase the appeal of your products and engage with your customers to boost your sales. Remember, eCommerce photography is not just about showcasing your products; it’s about creating an immersive buying experience that resonates with your target audience.
Further Reading and Watches From Shopify
- Read: Product Photography: Craft a Perfect Setup
- Read: Phone Product Photography: How to Take Pictures With Your Smartphone
- Watch: Product Photography On A Budget: How To Take Gorgeous Photos Using Only Your PHONE
So, take the time to learn, experiment, and fine-tune your eCommerce photography skills. You’ll be amazed at its positive impact on your online store’s success. Happy shooting!
To stay updated with the latest tips and insights, subscribe to our newsletter and follow us on social media. And if you have any questions or need further assistance, don’t hesitate to contact us. We’re here to support you every step of the way.


